To Dye for and Best Little Hari House
nine Things to Consider When Dyeing Your Hair at Home
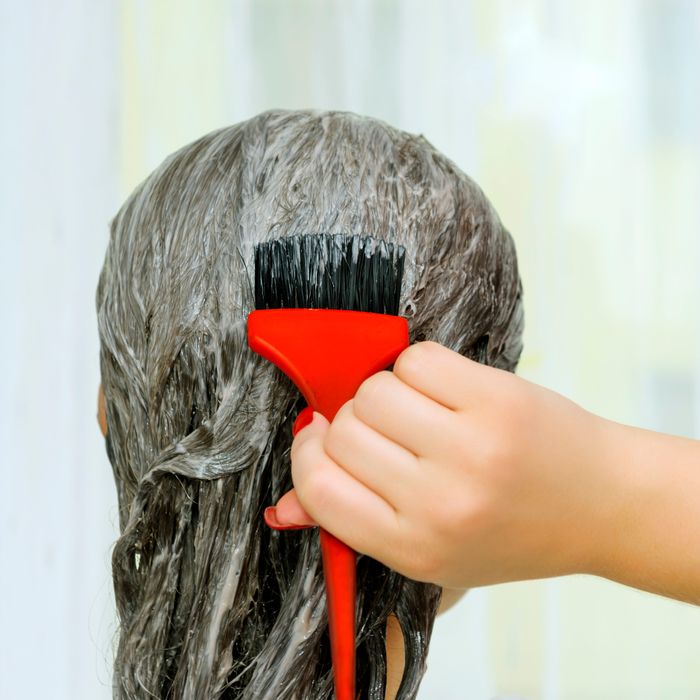
Photo: stock_colors/Getty Images/iStockphoto
Nevertheless thinking about switching up your hair color? There's a chance you may have to get it alone, equally the fate of many salons hangs in the air. If touching up your roots or soaking your ponytail in Kool-Aid doesn't quite scratch the itch, you can take a cue from a lot of other people these days and try to dye your own pilus at home.
Boxes of color come with instructions, but there are a few extra things that the pros want you know when taking the plunge. We asked celebrity hair colorist Nikki Lee of Nine Zero One salon, celebrity colorist and Redken brand ambassador Matt Rez of Mèche salon, and Schwarzkopf hairstylist Wendy Gutkin for guidance on how to dye your pilus alone with minimal regrets.
Before you effort new hair colour, take a minute to decide if an unsupervised, at-home hue alter is in your hair'south best involvement. If you take all-encompassing impairment, heat-style extremely frequently, or are thinking near dabbling in bleach, yous may want to await until for an in-person appointment. Both Rez and Lee concord: Major color changes should be left to the professionals. Same goes for anything involving highlighting or foil work. "That's asking for trouble," warns Rez. Simply if you experience similar getting into problem, worst-instance scenario, you can but shave information technology all off.
The best fashion to avoid any guesswork? "Reach out to your colorist and see if they can put a color kit together for you," says Rez, who has been busy doing exactly that for clients. Otherwise, start past figuring out what colour your pilus truly is. "Are you a medium warm brown, a calorie-free cool blonde? One time you ameliorate empathize that, selecting a colour becomes less complicated," says Lee.
If you want this to be as low-risk as possible, she recommends staying inside ii shades above or below your natural shade (going darker is the safer of those two prophylactic options), and never trust the smiley person on the front of the box. "The swatches on the side of the box will prove you lot how the color you're choosing volition plough out based on your current root shade," Lee added. However struggling? Turn to your devices. Both Garnier and Schwarzkopf accept fun virtual shade try-on pages.
Co-ordinate to Lee, most of the accessible, at-home colors you find in drugstores are permanent dyes, meaning you're stuck with your decision for the time existence if you mess upward. If you're just looking for something to tide you over until your next engagement, she suggests going for a semi-permanent formula that will eventually wash out over time. If you're looking to diffuse new growth or gray hairs with an all-over colour alter, Rez recommends demi-permanent color, which also washes out over time (just not as speedily as semi-permanent color) and merely darkens colour (rather than lifting it), which ways less of an opportunity for you to end up with orange roots.
To ensure full coverage, both Lee and Gutkin say you demand 2 boxes of color if your hair is shoulder-length or longer, very coarse, or very thick. You lot'll also want to make sure you take everything else to get the chore done: gloves, a color brush, some nonmetallic clips, a nonmetallic bowl (metallic will oxidize the dye and alter the colour), and a timer, which can be your cell telephone or AI personal assistant.
Once y'all have your formula, Lee recommends conducting a patch test on your skin to ensure you don't take an allergic or adverse reaction to the color, and Gutkin recommends conducting a patch test on a pocket-size section of hidden or trimmed pilus to ensure you don't have any regrets about the color. "Patch testing is also a cardinal pace for working out timing with your hair texture," says Gutkin. "The effectively your hair is, the faster the color volition develop, meaning less time, merely if yous accept coarse or dry hair, you can get past the recommended time on the box."
If you're going the demi-permanent or permanent route, Gutkin suggests picking a 24-hour interval to do the deed, and so holding off on shampoo for a day or two so your scalp isn't squeaky clean right before dyeing your hair. "This volition allow your scalp's natural oils to act as a barrier against irritation." Y'all can besides apply a little Vaseline or a thick foam to your hairline for extra protection.
Achieving even coverage requires some strategy. Starting time by parting your hair downward the center and sectioning your hair into four equal sections starting in the back, and then you end up with 2 sections in front of the ears and two backside them. Gutkin says to begin applying dye at the roots showtime, "since the roots need the most color and processing time," and Rez advises actually saturating them with color. "Then, apply dye from the back to the forepart to ensure the dye is sitting on the dorsum of your hair the longest," Gutkin says.
According to Lee, the ii areas that should be dyed last are the front hairline ("baby hairs could end up too dark if you start with them first") followed by your ends. "When you apply one shade all over your head, it can cause your pilus color to wait flat," says Lee. To avoid this and create some dimension with a single colour, she recommends running the remaining dye through your ends in the last ten minutes of processing, then they look slightly lighter than the rest of your pilus.
Later on you've applied the color, let it sit uncovered for the allotted time in the instructions, or shorter, depending on the results of your patch test. As tempting as it is to put your hair upward and out of the mode, Gutkin says to avoid buns and clips one time the dye is on. "You want to leave hair down until the timer rings to ensure the color rinses out evenly." Some other way to encourage an even finish: sprinkle a fiddling water on your head before rinsing and "mush it effectually with your hands" to avert any harsh lines and streaks from setting in.
Exist sure to conditioner after y'all rinse to seal the cuticle, and tweak your routine going forward to include weekly strengthening treatments and moisturizing hair masks. The recommendations below volition help with pilus that may exist more than fragile, dry, or porous than usual post-obit the dyeing procedure.
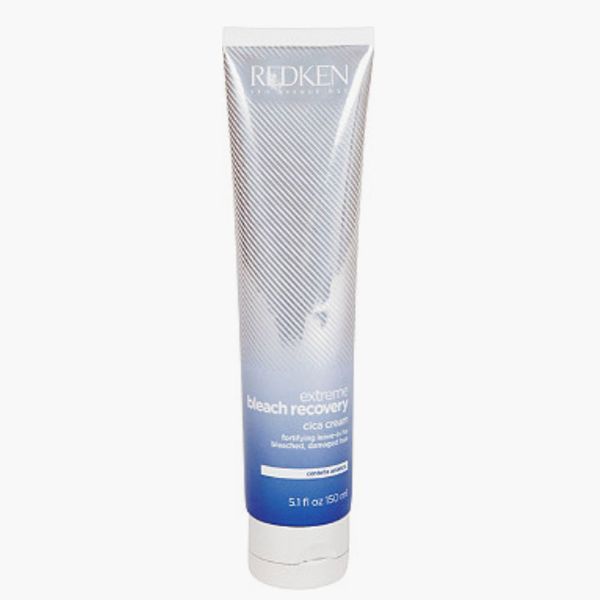
Rez has been prescribing Redken's Extreme Bleach Recovery system to anyone who has bleached or highlighted their hair in the by, or has experienced any at-home flubs. There's a workout, strengthening rinse that helps with porosity, and this extra-nourishing leave-in starring the healing K-beauty ingredient cica.
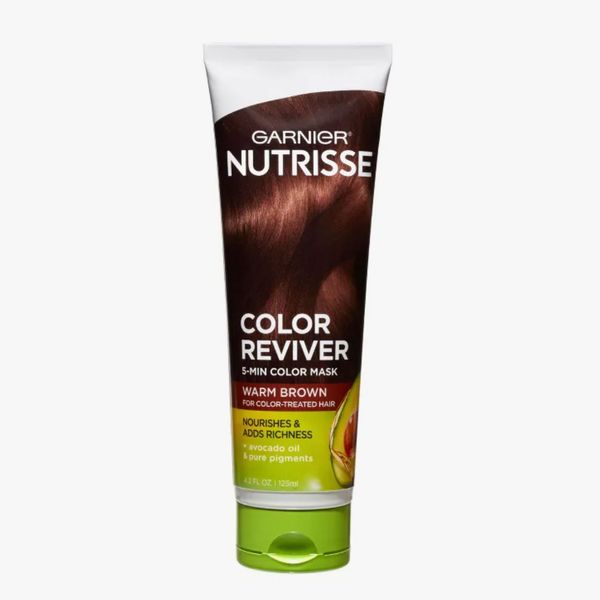
If you want to continually boost your handiwork over time, Lee recommends Garnier'due south Nutrisse Color Revivers, which not only soften and smooth your pilus, merely besides refresh your colour to go on it looking nice until you lot tin get dorsum into the salon.
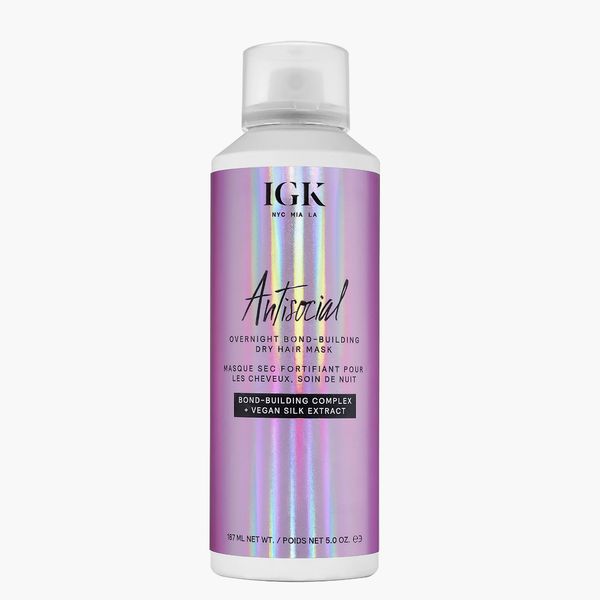
While enough of hair masks focus on replenishing moisture before being rinsed out, this innovative spray focuses on strengthening overnight. The dry formula bonds to the natural proteins inside the pilus fiber, helping to reinforce it from the inside, making information technology a solid pick for damage control post-dye.
If you want to replace your standing date with an at-home splurge, this legendary pilus mask not but nourishes, but stretches your colour a little fleck longer until you can reunite with your colorist one time more.
Source: https://www.thecut.com/article/how-to-dye-your-hair.html
0 Response to "To Dye for and Best Little Hari House"
Enregistrer un commentaire